Step One: Bring in your artwork
On Thursday August 16th an artist came into our store. Gabriella Radujko brought with her a plate series titled “It’s a Natural World.” The series consists of plates of different sizes and materials. Each one is unique in its content and composition.
Step Two: Discuss possibilities

First we assessed the artwork, taking note of the many different materials used to create it. The plates were ceramic, crystal and porcelain. Each one uses different materials to tell a story. We noted the fragility of the pieces and began to brainstorm ideas. The goal was to find something that showed off the pieces but remained archival and centered around preservation. Shadowboxes provided the depth we needed, but the solid frame prevented the pieces from being viewed in their entirety. So we went with a different solution, plexi boxes.
Step Three: Confirm selection and complete the solution

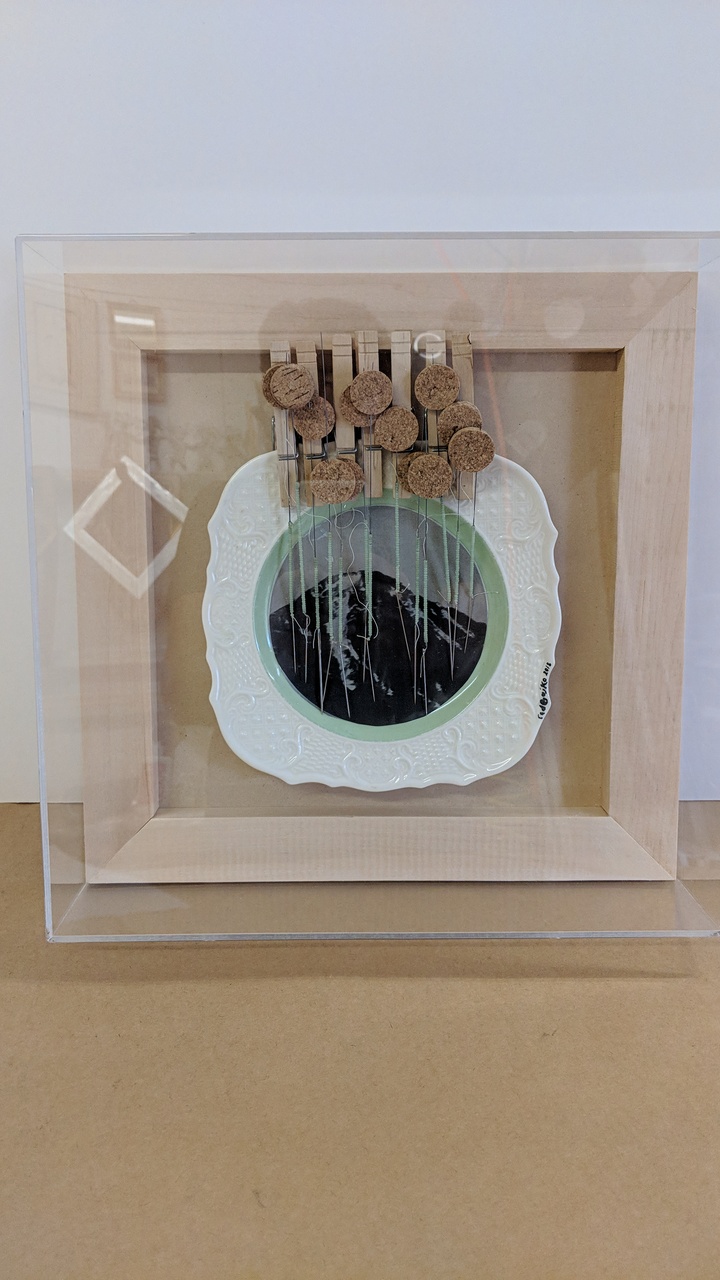
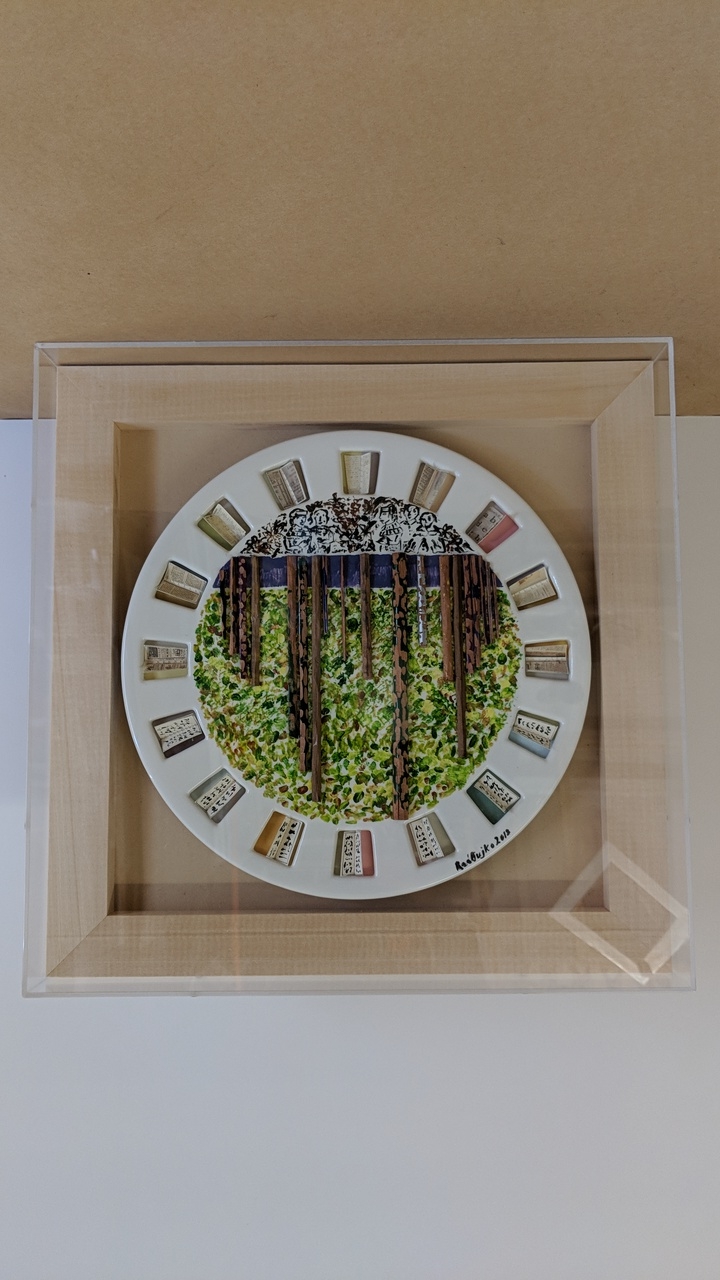
“Needle Mountain” 2018
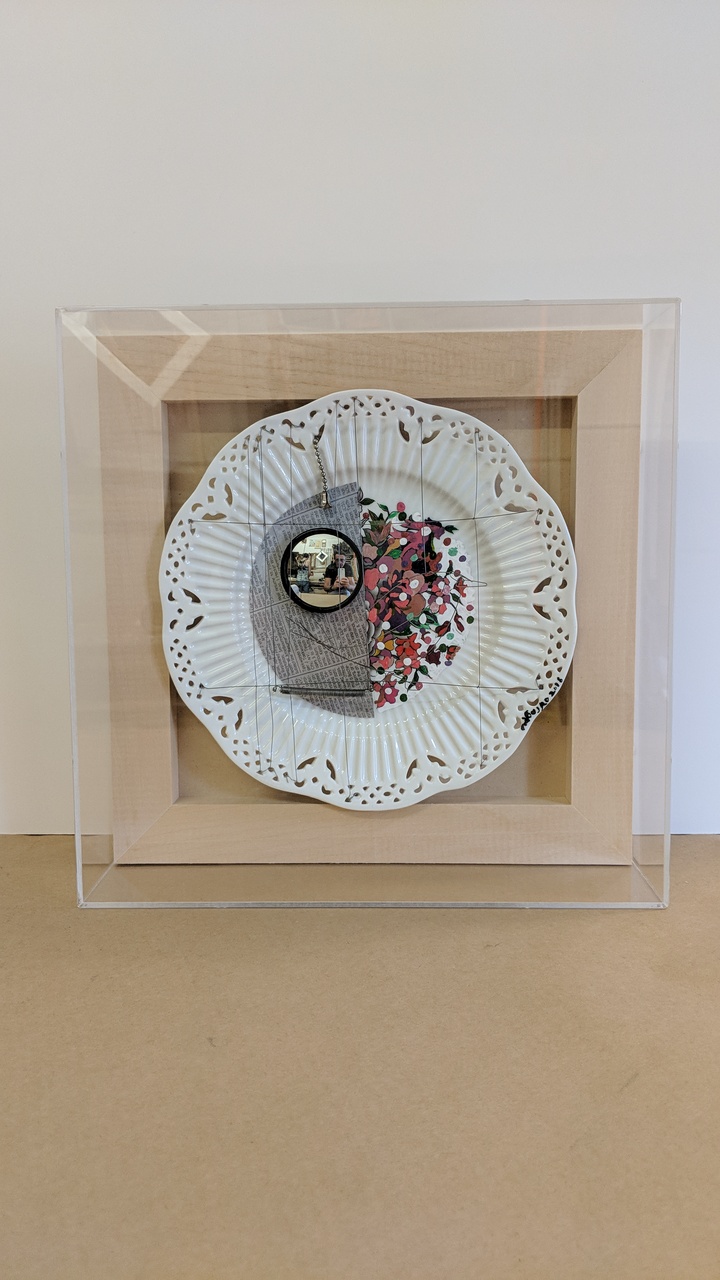
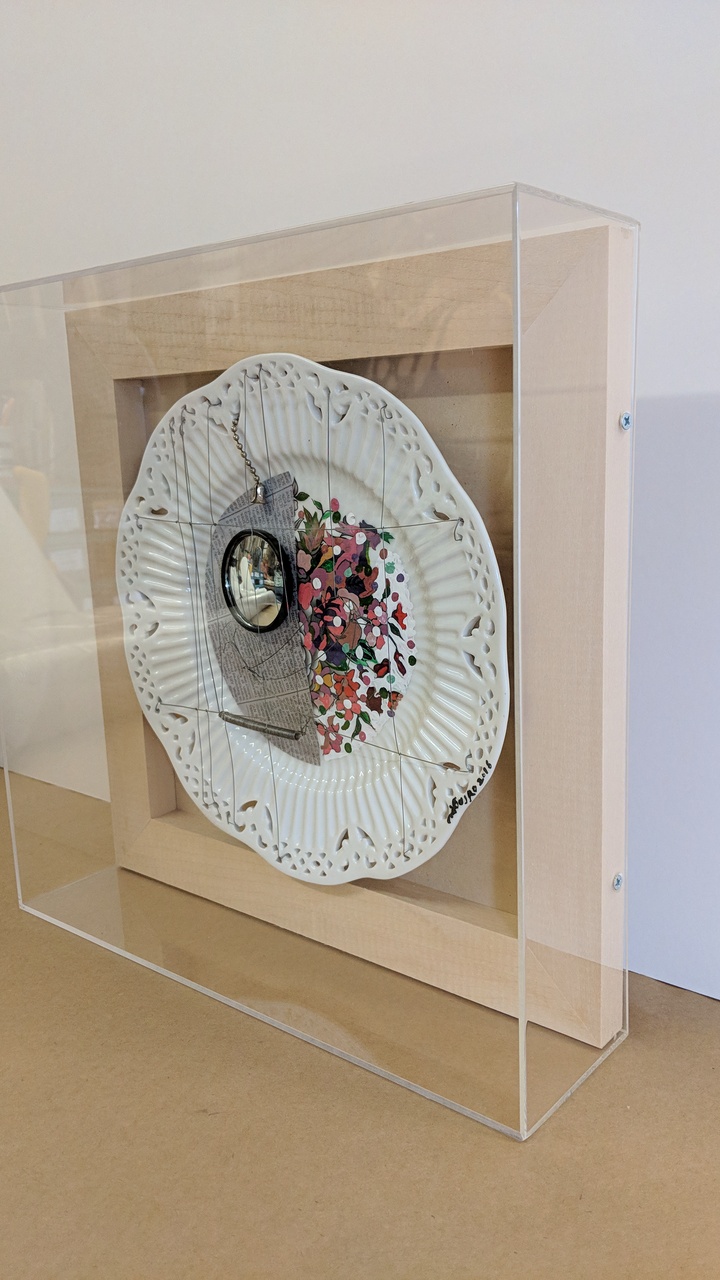
After deciding on clear plexi boxes, we began discussing the other visual aspects. Rather than putting a colored mat behind the piece we opted for a more natural look. By using wood behind the piece we were able to highlight a reoccurring theme of the series. We determined the size and depth of each one, creating varying sizes. To maintain a cohesive visual, we decided to keep all the pieces square.
Step Four: Put all the pieces together

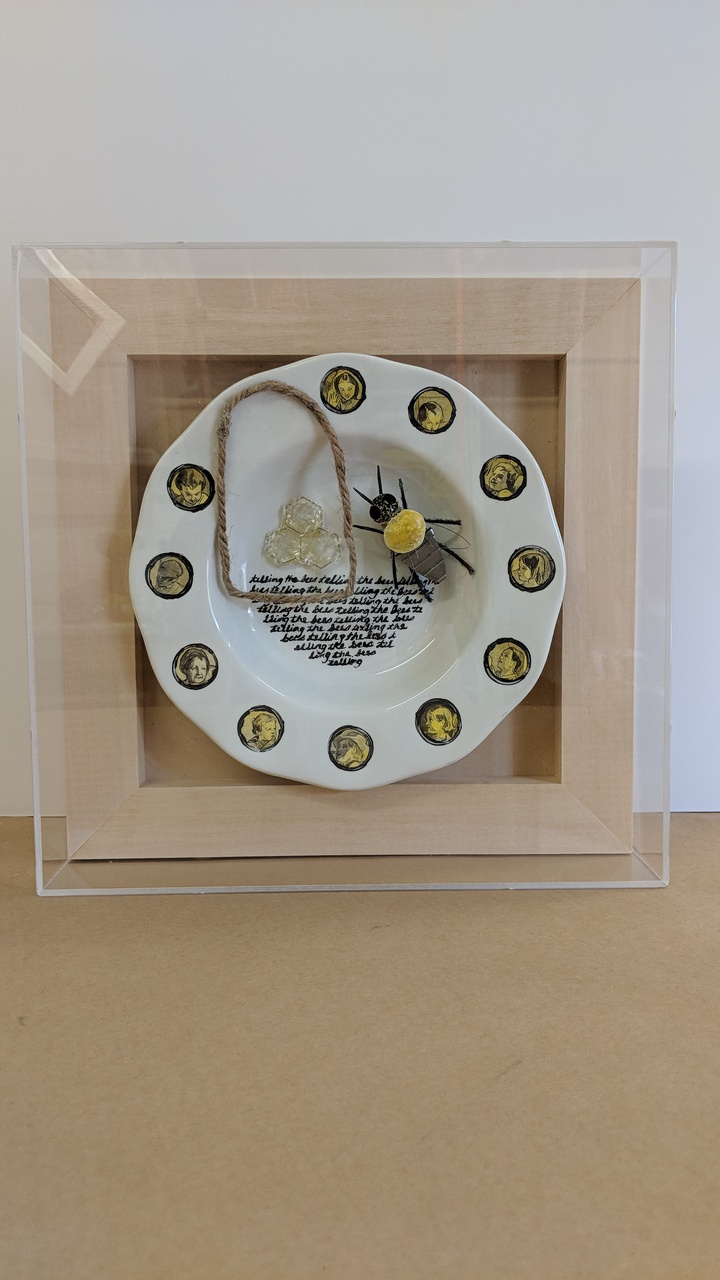
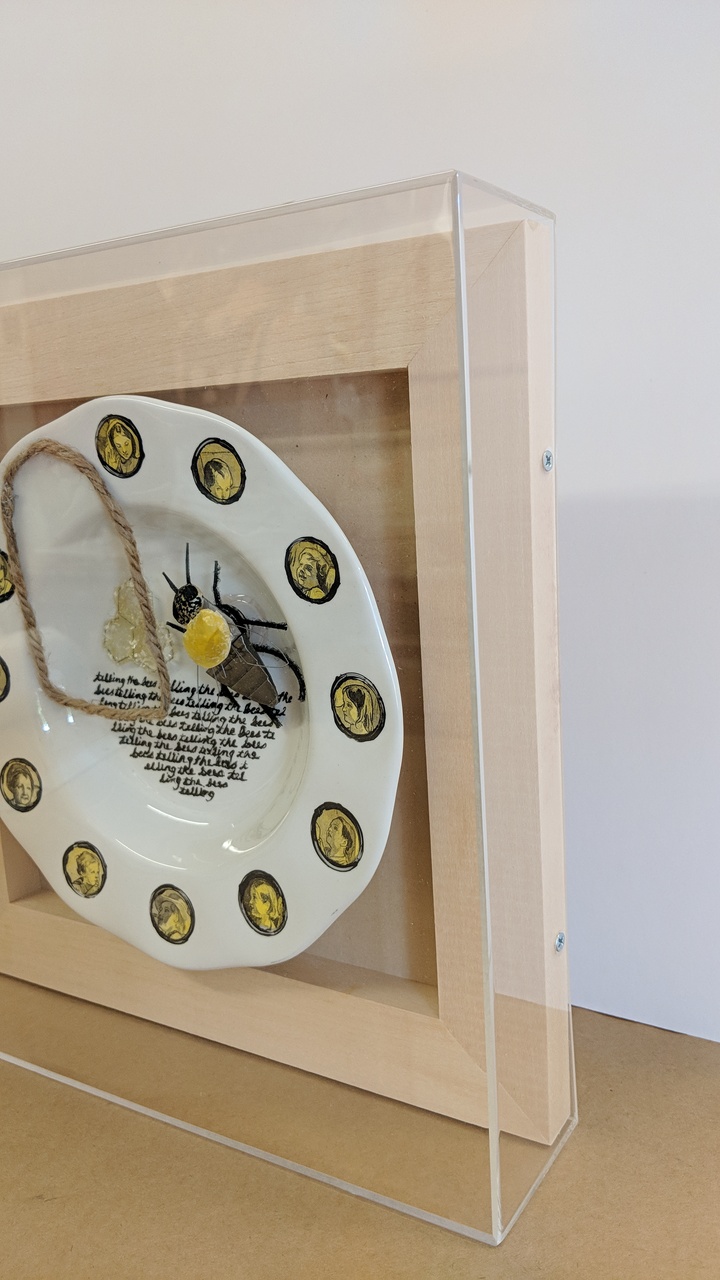
“Telling the Bees” 2018
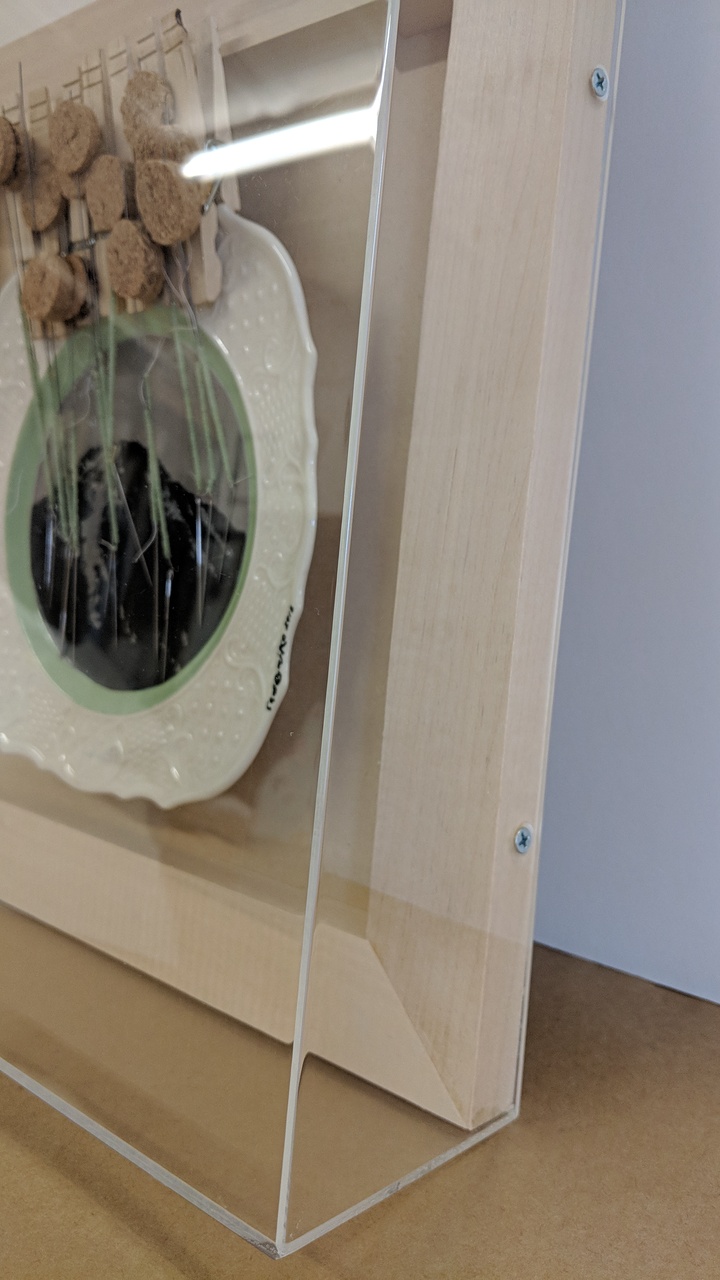
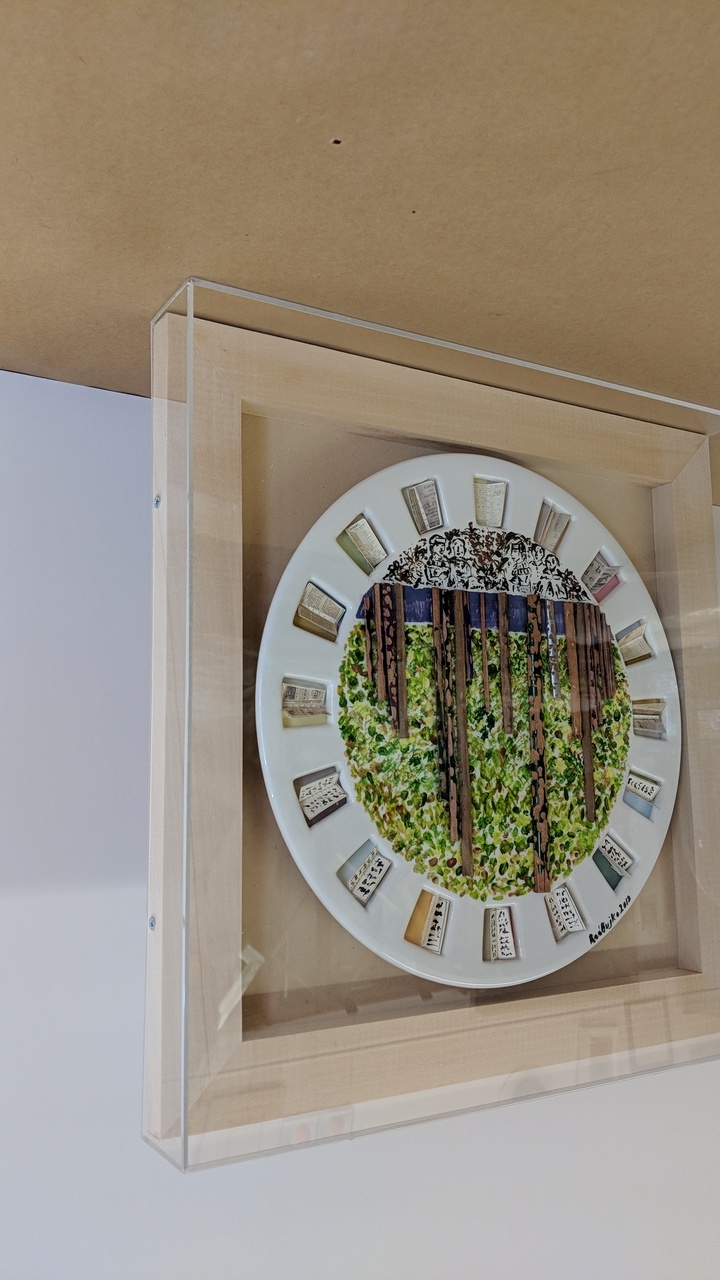
Then we edited our primary decision to have wood as a backdrop for the pieces. Upon the arrival of the pieces, we realized that there was a way to have a frame within the box. Instead of mounting the plates on the wood and calling it a day, we brought in a new piece. Typically when we create plexi boxes we use a mat as a background and a wooden frame behind it for added support. In this case we brought it to the foreground, framing the plates within the plexi. This added the affect of a more traditional frame without being visually obtrusive.
Step Five: See finished pieces
To hang the pieces with the most stability we used french cleats for the hanging hardware. This would allow for easy removal as well as stable hanging. The finished pieces showed off Gabriella's intricate work without drawing attention to the boxes themselves. They will hang in her new studio in Erector Square along with a fifth plate that we are currently framing.
Click to view all four finished pieces
If you wish to see more of Gabriella’s artwork, visit her website https://gabriellaradujko.wordpress.com/
-Shaylynn McGrory can be contacted at shaylynn@dasilva-gallery.com